

Manufacturer Backed Window Film Care for Home and Car Owners
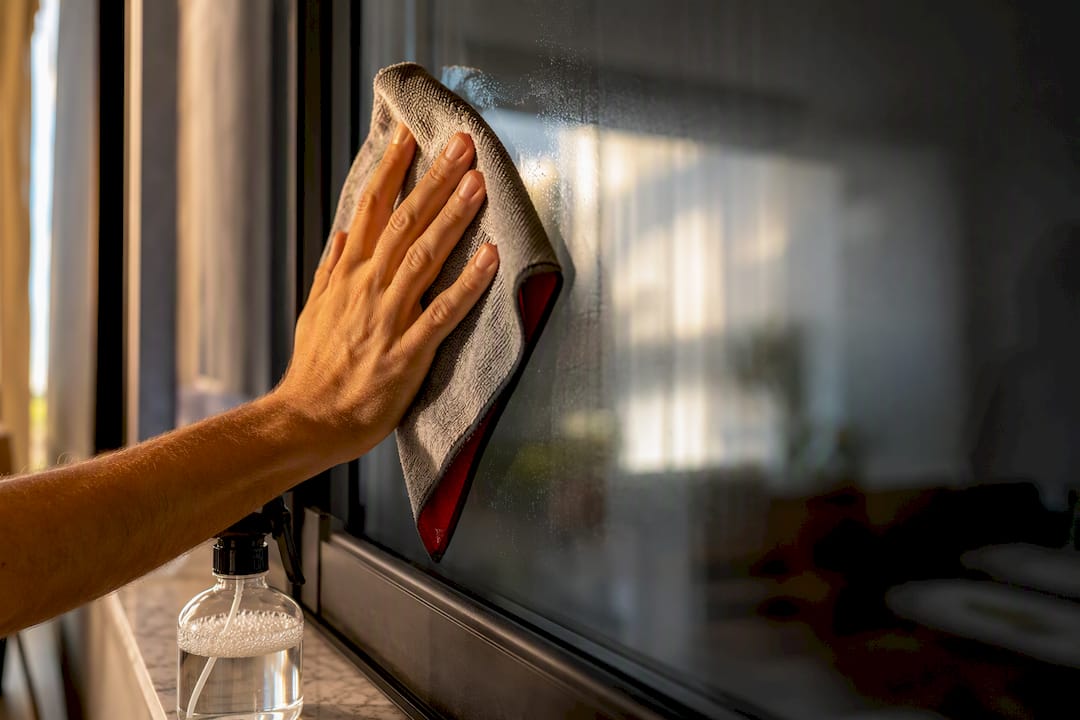
The safest way to clean window film is a mild dish soap and water solution, applied with a soft microfiber cloth and pulled off with a rubber squeegee. Skip ammonia-based glass cleaners, paper towels, and anything abrasive. And if the film was installed recently, don’t touch it yet. That’s the entire method, and it works whether you’re cleaning a living room window or a car door.
TL;DR:
- Use a mild dish soap and water solution in a spray bottle, along with microfiber cloths, sponge, and squeegee for safe window film cleaning.
- Avoid ammonia-based cleaners, abrasive materials, and reusing cloths between interior and exterior to prevent damage and scratches.
- Wait at least 30 days after installation before cleaning, as the film needs time to cure and fully bond to the glass.
- For stubborn stains, soak with soapy water and gently wipe, testing alcohol on hidden areas to avoid discoloration or lifting.
- Refrain from scrubbing dry or using pressure washers, which can cause film lifting, scratching, or bubbling, especially within the curing period.
Table of Contents
- The Right Cleaning Window Film Materials and Tools
- How Do You Clean Window Film Step by Step?
- What’s the Safe Way to Remove Stains and Residue?
- Why You Shouldn’t Clean Window Film Right After Installation
- Common Cleaning Mistakes That Damage Window Film
- A Working Installer’s Take on Keeping Film Looking New
- Sources
The Right Cleaning Window Film Materials and Tools
Grab the wrong bottle under the sink and you can undo a $400 tint job in about 30 seconds. Most window film damage isn’t caused by neglect. It’s caused by well-meaning people using the same blue spray bottle they use on bare glass.
Start with the solution. Solar Gard recommends roughly a half ounce of liquid dish soap per quart of clean water, which is a stronger dilution than you’d guess but works because it’s gentle on the film’s hard coat while still cutting grime. Avery Dennison’s installation bulletin goes a step further and suggests a detergent-free baby shampoo mix, which leaves less residue behind than most dish soaps.
Here’s what belongs in your cleaning kit:
- A spray bottle with your mild soap-and-water mix
- Microfiber cloths, kept separate for indoor and outdoor glass
- A soft synthetic sponge for light scrubbing
- A rubber squeegee for the final pass
- Fresh, lint-free towels for edges and sills
Now the “never touch this” list. 3M’s technical bulletin is blunt about ammonia: it breaks down the film’s protective hard coat over time, causing the surface to cloud or discolor. Skip bristle brushes, abrasive scouring pads, and razor blades entirely. Even low-quality paper towels or newspaper can carry enough grit to leave fine scratches you won’t notice until sunlight hits the window at the wrong angle.
Pro Tip: Label your microfiber cloths “in” and “out” with a permanent marker. Cross-contamination between grimy exterior cloths and interior glass is one of the most common ways people scratch film without realizing why.
How Do You Clean Window Film Step by Step?
The process is nearly identical whether you’re working on a bedroom window or a windshield, and it takes maybe five minutes per pane once you’ve got a rhythm.
Before touching anything, confirm the film has passed its curing period. If it hasn’t, stop reading this section and skip to the drying and curing guidance below. Once you’re cleared to clean, follow this order:
- Rinse first. Mist the surface with plain water or a diluted soap solution to loosen loose dust and grit before any wiping begins. Skipping this step is how most scratches happen.
- Apply the soap solution. Spray your mild dish soap mix evenly across the film.
- Wipe gently. Use the microfiber cloth or soft synthetic sponge in straight, light passes. No circular scrubbing, no pressing hard.
- Squeegee it dry. XPEL’s care guidance points out that a rubber squeegee prevents the water spotting you get from air-drying, and it’s faster than toweling off a whole window.
- Check the edges. Dry corners and sills with a fresh lint-free towel and inspect for streaks or leftover soap film.
Vehicle glass adds a couple of wrinkles home windows don’t have. Curved windshields and rear windows need more passes at slightly different angles to avoid missing pooled water near the defrost lines, and door seals trap grit that transfers to your cloth if you’re not careful. Avoid cleaning car film in direct sun or when the glass is hot. Soap dries into streaks almost instantly on hot glass, and you’ll be redoing the whole job.
Manufacturers generally advise waiting about a month after installation before cleaning, and that period can be longer in cold or humid climates because the mounting solution underneath the film takes longer to evaporate.
What’s the Safe Way to Remove Stains and Residue?
Stubborn spots need patience, not muscle. Bird droppings, tree sap, and old adhesive residue all respond to the same basic trick: soak before you wipe.
Saturate the spot with your soapy water solution and let it sit for several minutes so it can soften rather than scrape. Then wipe gently with the microfiber cloth. Repeat if needed. This alone resolves most stains people assume require a razor blade.
For genuinely stuck-on residue, isopropyl alcohol can work, but test it on a small, hidden corner of the film first and watch for any clouding or lifting before treating the whole area. 3M notes that some specialty cleaners are compatible with certain films, but compatibility varies enough by product that a spot test isn’t optional.
Never scrape film with a razor or metal edge. The film side of the glass isn’t the tempered surface a scraper is designed for, and one pass can slice clean through it.
- Soak stains before wiping, never scrub dry
- Spot-test alcohol on a hidden edge before wider use
- Rinse and squeegee hard-water spots quickly rather than letting them dry
- Avoid vinegar on films with certain coatings, since acidity can react with some hard coats
Pro Tip: If a stain doesn’t lift after two soak-and-wipe attempts, stop. Repeated hard rubbing in one spot is a far more common cause of film damage than the stain itself.
Why You Shouldn’t Clean Window Film Right After Installation
That 30-day rule isn’t arbitrary caution. It’s tied to how the film actually bonds to your glass.
Window film goes on with a mounting solution that has to fully evaporate before the adhesive cures completely. Solar Gard’s installation guidance ties this directly to the 30-day window, and notes that cooler or more humid conditions slow the process down. Wipe or press on the film before that moisture is gone, and you risk shifting it, creating a crease that won’t come out.
During curing, you’ll likely see:
- Small water bubbles or hazy patches (normal, and temporary)
- A slightly cloudy appearance that clears as moisture escapes
- Occasional bubbling near edges that flattens out over the weeks
If bubbling, haze, or visible distortion is still there well past the 30 day mark, that’s your cue to call the installer rather than start scrubbing at it.
Common Cleaning Mistakes That Damage Window Film
Most film failures trace back to a handful of repeat offenders. Ammonia-based glass cleaners top the list, followed closely by pressure washers, which force water and pressure under the film’s edges and can lift it right off the glass. Mixing your indoor and outdoor cloths is a quieter mistake, but it’s just as effective at grinding grit into the surface over time.
- Using ammonia glass cleaners or anything labeled “streak-free” without checking the ingredients
- Pressure-washing exterior film instead of hand-washing it
- Cleaning within the 30-day cure window
- Reusing the same cloth for grimy exterior glass and clean interior panes
- Scrubbing hard at a spot instead of soaking it first
If you notice scratches that catch light at an angle, persistent haze that never clears, or edges lifting away from the glass, that’s beyond a cleaning fix. It’s a job for a professional inspection, and it may fall under a warranty claim if the film was professionally installed. Keeping to the manufacturer’s care instructions, and photographing any issue as soon as you spot it, makes that warranty conversation a lot easier.
A Working Installer’s Take on Keeping Film Looking New

Since 2008, window film installers have installed 3M and LLumar film across Southern California, often backed by lifetime warranties. For ongoing care, professional solar maintenance ensures your film and related surfaces stay in top condition. A warranty is meaningful only if the film is cared for properly, which is why cleaning routine matters as much as installation.
My honest recommendation: pick one day a month, wipe every filmed window with the soap-and-squeegee method, and you’ll never face the deep stains or haze that come from months of neglect. If a window ever looks cloudy no matter how gently you clean it, that’s not a cleaning problem anymore. It’s worth a quick call to whoever installed it, or a professional inspection to check whether the film itself needs attention.
— Jake
Sources
- Visual guidelines and care & cleaning instructions for 3M™ Window Films (3M Technical Bulletin, Jan 2022)
- Installation and maintenance of Avery Dennison architectural window film (Instructional Bulletin)
- Care and maintenance (Solar Gard)
- Commercial care & maintenance (XPEL)