

Bay Window Privacy Without Losing Natural Light
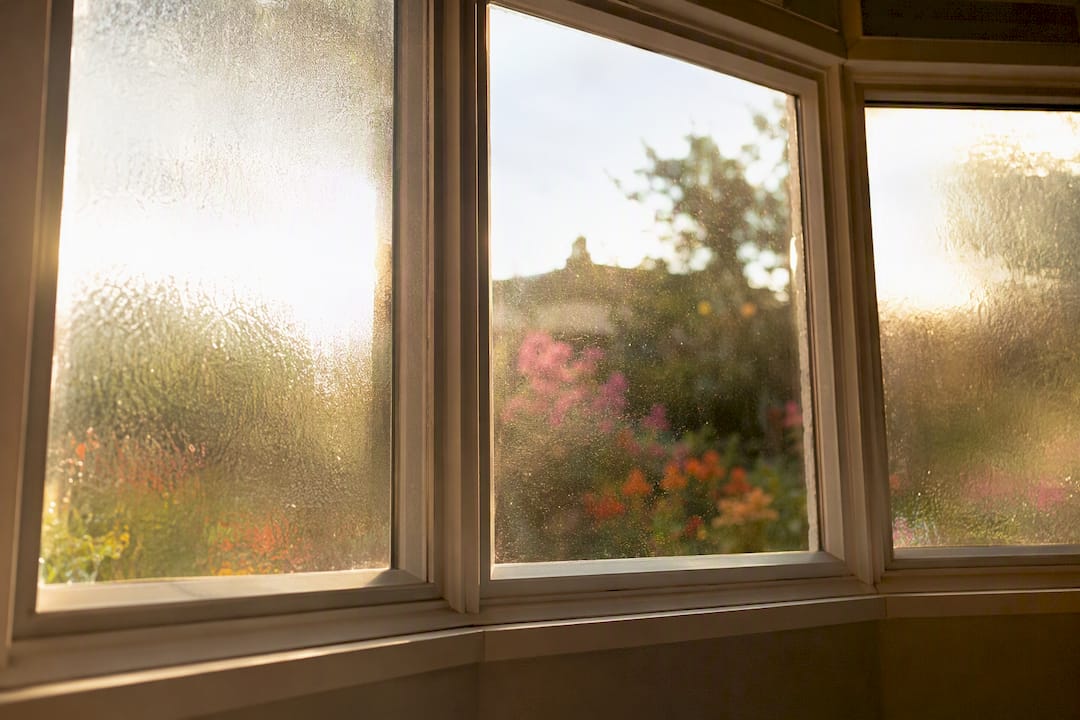
The fastest fix for bay window privacy is one of four options: privacy or frosted film on the lower panes, top-down/bottom-up cellular shades, layered sheers with privacy drapery, or plantation shutters with adjustable louvers. Each one solves the same problem differently, and the right pick depends on how much light you’re willing to trade for how much control.
- Privacy film (frosted or decorative): permanent, glass-level privacy, keeps nearly all daylight. Best for street-facing bays where you never want to fuss with cords.
- Top-down/bottom-up shades: cover the bottom half for sightline privacy while the top stays open for sky light. Best for bedrooms and home offices.
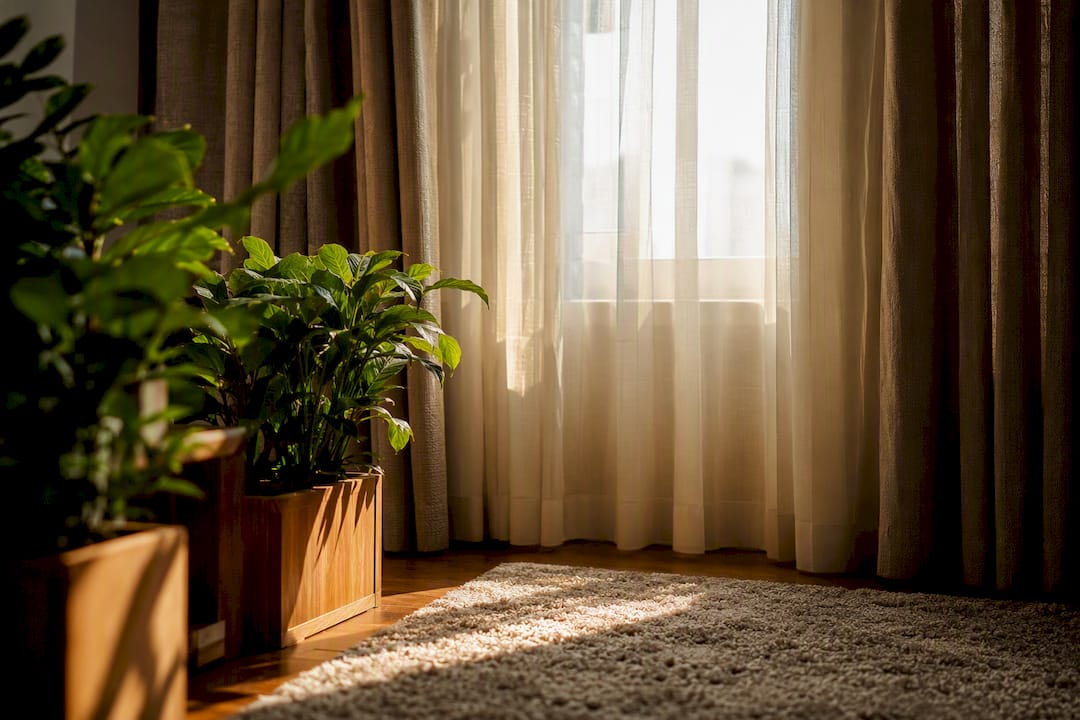
- Sheers layered with drapery: daytime softness plus a pull-shut option for night. Best for living and dining rooms with a design-forward look.
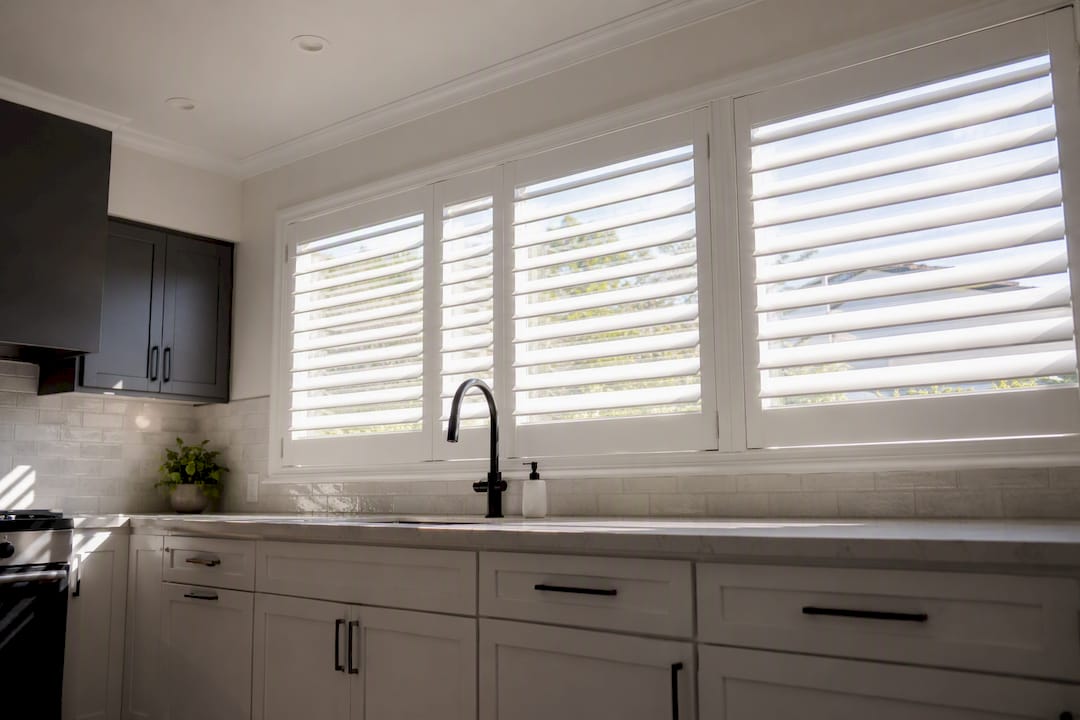
- Plantation shutters: louvers tilt to block eye level while still admitting light. Best for period homes or anyone who wants precise, hands-on control, at a higher cost.
If daylight matters more than anything else, start with film. If you want flexibility between day and night, start with a two-layer shade or sheer-plus-drape setup. Cellular shades add a bonus: insulation, not just privacy. Twtwindowfilm handles the professional film route for homeowners who want a solution that’s installed once and forgotten.
Key Takeaways
The best bay window privacy comes from matching daylight priorities to the treatment: film for permanent low-visibility privacy, layered shades or sheers for day-to-night flexibility, and shutters for hands-on control.
| Point | Details |
|---|---|
| Start with film if daylight is the priority | Frosted or decorative film on the lower panes keeps nearly all daylight while blocking eye-level sightlines. |
| Measure every sash separately | Check depth near the crank handle and mullion on each pane, not just the center one. |
| Layer for day and night | Pair a sheer or frosted layer with drapery or a blackout shade to cover the nighttime exposure gap. |
| DIY works for curtains, pros for tricky glass | Curved seams, custom shutters, and film installs on angled bays hold up better with professional work. |
| Get a professional quote for film installs | Twtwindowfilm offers free on-site estimates and lifetime-warrantied film installs using 3M and LLumar materials. |
Table of Contents
- Bay Window Treatments Compared: What Works Best in Each Room
- How Do You Keep Daylight While Blocking Sightlines?
- What Are the Benefits of Professional Privacy Window Film?
- Measuring, Mounting, and What It Actually Costs
- Which Bay Window Treatment Fits Your Room?
- Get a Free Estimate for Bay Window Privacy Film
- Sources
Bay Window Treatments Compared: What Works Best in Each Room
Bay windows collect more daylight than a flat window because you’re dealing with three (sometimes five) panes catching light from different angles. That’s the appeal and the challenge: more glass means more exposure, so the treatment you pick has to balance glare, privacy, and heat control at the same time.
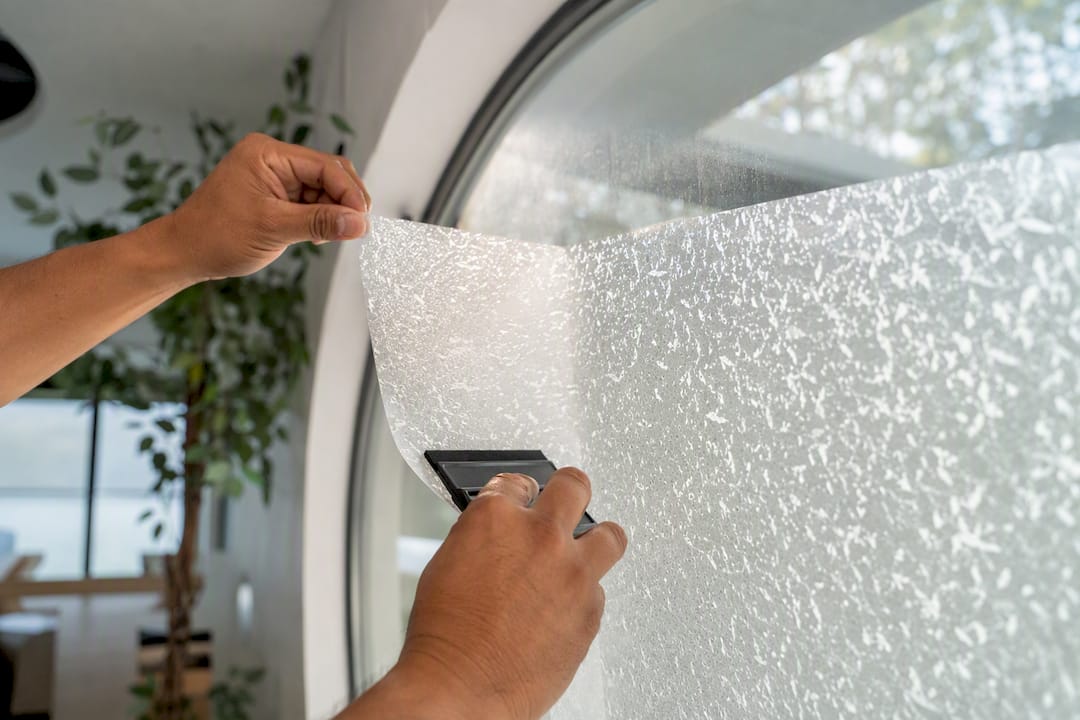
Privacy or decorative film sits directly on the glass, permanently. Pros: no visible hardware, close to full daylight retention, works day and night if you choose frosted (not one-way) film. Cons: it’s a semi-permanent choice, so pick your pattern carefully. Best for bedrooms and bathrooms facing the street; install with individual panels per sash to follow the bay’s angles.
Top-down/bottom-up cellular shades raise from the bottom or drop from the top independently. Pros: real insulation from the honeycomb structure, precise sightline control. Cons: cost more than standard shades, and stacking can look bulky if oversized. Best for bedrooms and home offices; inside-mount each sash separately for a clean look.
Roller or solar shades are flat, minimal, and easy to operate. Pros: low profile, good for modern rooms. Cons: usually one setting (up or down), less nuanced than layered options. Best for kitchens and home offices with a clean sightline requirement.
Roman shades fold in soft horizontal pleats. Pros: decorative, softens a room. Cons: doesn’t split top/bottom, so it’s an all-or-nothing privacy choice unless lined. Best for living and dining rooms.
Woven-wood shades bring texture and a relaxed, designer-favored look but need a liner for real privacy. Best for casual living spaces.
Plantation shutters use louvers you tilt by hand. Pros: precise light control and near-total privacy when angled down. Cons: highest cost, harder to clean between slats. Best for street-facing period homes.
Café curtains cover only the lower half of the window on a rod. Pros: cheap, breezy, easy to swap. Cons: minimal privacy above the rod line. Best for kitchens.
Sheer panels layered with drapery give you daytime diffusion and a night-time blackout option in one setup, which solves the day-versus-night privacy gap that single-layer treatments can’t.
Think about how each treatment reads from the sidewalk, too. Heavy drapery or shutters look intentional and finished; mismatched or crooked blinds across three panes look like an afterthought. And if kids or pets share the room, skip corded blinds. Cordless or motorized shades remove a strangulation hazard entirely.
Pro Tip: Treat each pane in the bay as its own window rather than trying to force one continuous treatment across all three. Individual panels hang straighter and operate more smoothly on angled glass.
How Do You Keep Daylight While Blocking Sightlines?
You don’t have to choose between a bright room and a private one. A few techniques let you have both, and most take an afternoon to set up.
- Film the lower panes only. Apply frosted or patterned film to the bottom third or half of each pane. Upper glass stays clear, so daylight and sky views remain while eye-level sightlines disappear.
- Run shades top-down. Pull cellular or roller shades up from the bottom instead of down from the top. You block the view into the room without covering the sky.
- Angle louvers or tilt shutters downward. This bounces light toward the ceiling while blocking a straight-line view in from the street.
- Layer a sheer with a privacy piece. Keep the sheer closed during the day for soft diffusion, and close the heavier layer at night.
Street-facing bedrooms benefit most from the film-plus-drapery combo. Home offices do well with top-down shades since you need consistent screen-glare control during work hours but don’t want to lose the room’s brightness.
One caveat trips people up constantly: one-way reflective films work only when it’s brighter outside than inside. Once the sun goes down and your lamps turn on, the mirror effect reverses and anyone outside can see straight in.
The fix is simple: pair reflective or frosted film with a closable interior layer, whether that’s drapery or a second shade, so you’re covered once the lights go on inside.
Pro Tip: If you only remember one rule, remember this: daytime privacy tricks (frosted lower panes, reflective film, tilted louvers) don’t automatically cover you at night. Always pair them with something you can physically close after dark.
What Are the Benefits of Professional Privacy Window Film?
Professionally installed privacy film gives you consistent, edge-to-edge coverage that DIY kits struggle to match, especially across the angled seams of a bay window. Beyond the frosted or patterned look, quality film cuts glare, reduces UV exposure, and often knocks down heat gain, so you get privacy and a lower cooling load in the same install.
DIY film kits are fine for a flat, single-pane window or a low-stakes project where a few bubbles or a slightly crooked edge won’t bother you. Bay windows are a different story. Curved or steeply angled glass, tight corner seams, and long-term adhesion problems are where professional installation earns its cost. A pro also backs the work with a warranty, something no adhesive roll from a hardware store offers.
If you’re evaluating installers, ask these questions:
- Do they carry recognized brands like 3M or LLumar, or a generic film?
- Is there a lifetime warranty on the install, not just the material?
- Can they show examples of past bay window jobs specifically, not just flat storefronts?
- Will they do a free on-site measure before quoting a price?
Twtwindowfilm answers yes to all four, with decorative and frosted film options built for exactly this kind of glass.
Pro Tip: Ask to see a close-up photo of a seam on a past bay window job. Clean corner work is the easiest way to spot the difference between a rushed install and a careful one.
Measuring, Mounting, and What It Actually Costs
Get the measurements right before you order anything. Bay windows punish guesswork more than flat ones because the depth and hardware change from pane to pane.
- Measure the depth of each sash separately, not just once at the center.
- Note any crank handles, locks, or trim that could block a shade or blind.
- Record mullion widths so panels or shutter frames actually fit the angle.
- Confirm whether each sash opens, since that affects whether you inside-mount or outside-mount.
Incorrect measuring at this stage is the single most common reason bay treatments fail after installation, more than any product quality issue.
For mounting, you’ve got a few real choices: inside mount per sash for a clean, built-in look; one continuous outside mount across all three panes for a bolder statement; a bent track for blinds that follows the bay’s angle; or segmented rods for curtains, remembering that each panel needs roughly 1.5 to 2 times the window’s width in fabric to hang with proper fullness.
- Curtains and café panels: low cost, DIY-friendly, done in an afternoon.
- Cellular or roller shades: mid-range, usually custom-ordered, expect a few weeks lead time.
- Shutters or professional film: higher cost, but a pro handles the full install, often in a single day, and prices vary by region.
Wipe down shutters and film with a soft cloth and mild soap. Vacuum fabric shades on low suction every few months. With reasonable care, film and shutters can last well over a decade; fabric treatments usually need refreshing sooner.
Which Bay Window Treatment Fits Your Room?
Not every room has the same priorities, so match the treatment to what the space actually needs.
- Bedroom: blackout or cellular shades with liners, or pair privacy film with a blackout drape for full day-and-night coverage.
- Living or dining room: a semi-sheer paired with a roller or solar shade, or decorative film on the lower panes only, keeps the upper view intact.
- Kitchen or bathroom: café curtains on the lower panes or plantation shutters, both easy to wipe clean near sinks and steam.
- Home office: solar or light-filtering shades cut screen glare from the top panes; top-down/bottom-up cellular shades keep you private during video calls without going dark.
Pro Tip: In a home office, glare usually comes from the side panes, not the center one. A solar shade on just the angled sides often solves the problem without touching the main pane at all.
A Note From an Installer’s Chair
The most common mistake is measuring depth once at the center pane and assuming the sides match. Check depth again near the crank handle and the mullion. Get that right, and a well-chosen film or two-layer shade system holds privacy and daylight without ever looking like a compromise.
Get a Free Estimate for Bay Window Privacy Film
If you want privacy without touching your view, filming the glass is the lowest-visibility option on this list, and it’s permanent instead of something you operate every day. Twtwindowfilm handles bay window installs across Orange County and Los Angeles County, starting with a free on-site measure that accounts for each sash’s angle and depth before anything gets ordered.

Tricky bays are exactly where a professional install earns its price. Angled seams need careful trimming, and access to premium film brands like 3M and LLumar means better long-term adhesion than anything sold in a DIY roll. Every install comes backed by a lifetime warranty, so a bubble or peeling edge years down the line isn’t your problem to fix.
A free estimate gets you a measurement, a look at film samples in your own light, and a real price range before you commit to anything. Check out the residential window film services page or browse the full service list to book a visit.
Sources
- Bay Window Treatment Ideas: Curtains, Shades, Blinds, and Installation Tips
- Bay Window Privacy Ideas | Window Film for Bay Windows | Purlfrost
- Choose Bay Window Treatments For Privacy And Light - Unique Blinds + Drapes Design
- Window Treatments for Bay Windows | Style & Buying Guide