

Keep Daylight: No Drill Apartment Window Privacy for Renters
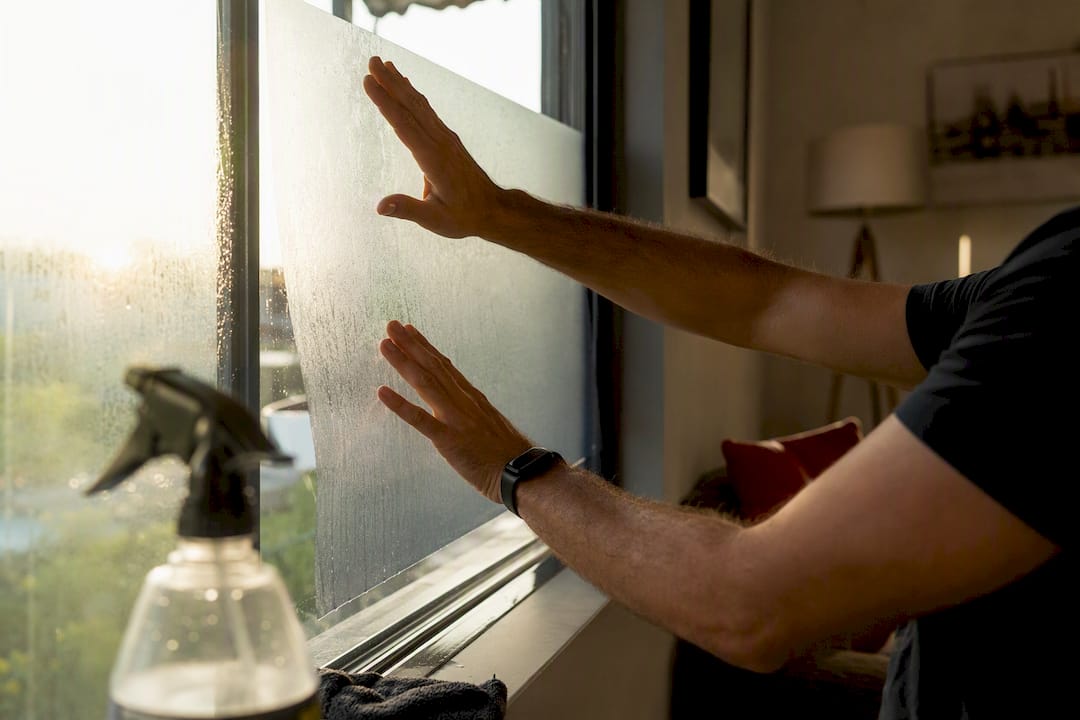
Static-cling or peel-and-stick frosted film is the fastest, most reversible fix for apartment window privacy, and it still lets daylight through. For rooms that need more control, light-filtering honeycomb shades or bottom-up styles let you block sightlines while keeping the top half of the window clear. Sheer curtains on a tension rod round out the setup for zero-drill coverage. One catch: reflective or one-way films only work while it’s brighter outside than in, so you’ll still need a plan for after dark.
TL;DR:
- Static-cling frosted film works well in humid rooms but may lift at edges over time, while peel-and-stick film offers better humidity resistance at the risk of adhesive residue.
- Reflective one-way films only provide privacy during the day when outside light is brighter, and they can conflict with building rules if facing public areas.
- Shades and blinds, especially honeycomb or bottom-up styles, offer adjustable privacy and insulation benefits, making them ideal for bedrooms and living rooms.
- Professional installation is recommended for large, textured, or floor-to-ceiling windows, and provides long-term durability, UV protection, and impact resistance.
- Proper prep, including thorough cleaning and measuring, is essential for bubble-free DIY film application, with removal requiring heat to soften adhesive and careful peeling.
Table of Contents
- What are the best renter-safe window covering options?
- How do you choose the right privacy solution for your apartment?
- How do you install and remove renter-friendly window film?
- Which privacy setup works best in each room?
- When is a professional window film install worth the cost?
- Want a pro to handle it instead?
- A renter’s honest take on privacy versus light
- Sources
What are the best renter-safe window covering options?
Every method here works without a drill, a landlord’s blessing beyond a quick heads-up, or a security deposit gamble. The differences come down to how much privacy you need, how humid the room gets, and whether you care more about daytime glare or nighttime coverage.
Static-cling frosted film sticks to glass using water tension rather than adhesive, which is why it’s the go-to for renters. Mist the window, smooth the film into place, and it holds through daily use. It’s forgiving during application (you can reposition it while wet) and it peels off clean years later. The trade-off is durability in wet rooms: tested static-cling film held up through six weeks of bathroom steam with only minor edge-lift that smoothed back down on its own, but heavy, constant humidity will eventually work at the corners.
Peel-and-stick frosted film uses a light adhesive instead of static, so it grips harder and resists humidity better than cling film. That strength is also its risk. Leave it on a sun-facing window for a year or more and you can end up with a faint outline where the adhesive slowly bonded to the glass. A warm hairdryer and a plastic scraper usually lift the residue, but it’s a step static-cling skips entirely.
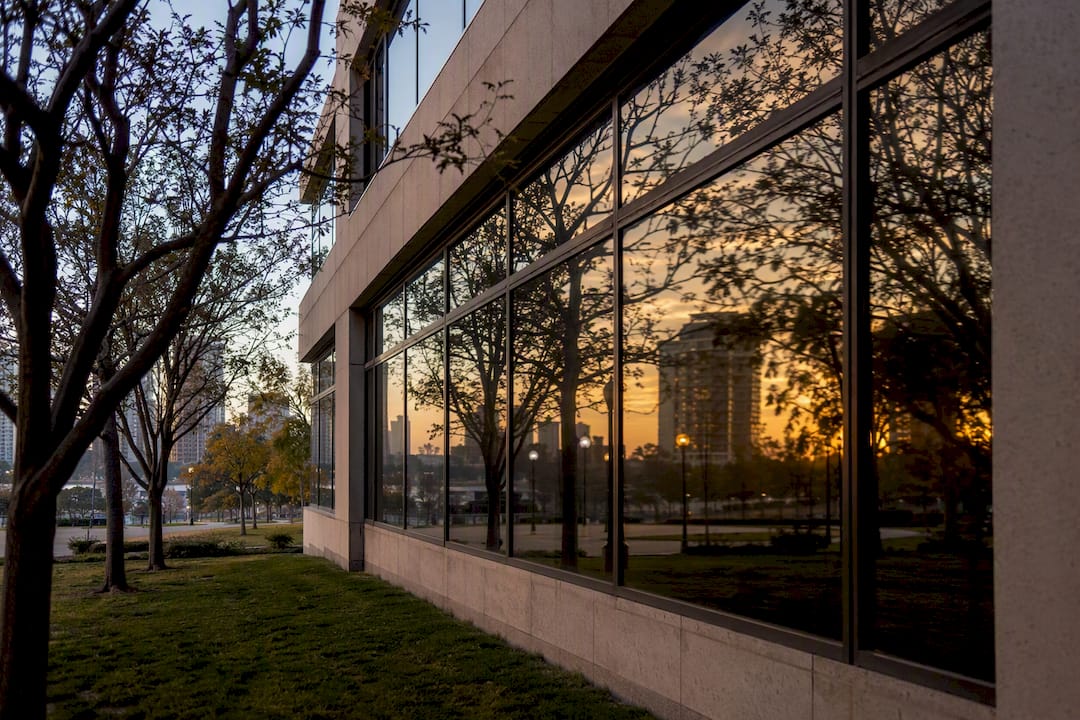
One-way or reflective film looks like a strong privacy fix on paper. It relies on outdoor light being brighter than indoor light, so passersby see a mirror during the day. Flip on a lamp after sunset and that mirror becomes a window again, showing your living room to anyone outside. It’s a daytime-only tool, and installers note it can conflict with building or façade rules if your unit faces the street, so check before you buy a roll.
Shades and blinds cover more ground for renters who want adjustable privacy. Honeycomb (cellular) shades and bottom-up or top-down styles rank highest for balancing light and coverage, and honeycomb adds a layer of insulation that helps with apartment heating bills. Roller shades in light-filtering fabric are the cheapest option and easiest to install with no-drill brackets, though they lack the top-down flexibility of pricier styles.
Non-window-mounted options matter for renters who genuinely can’t touch the glass or window frame. Tension rods let you hang curtains across a window or even a doorway using pressure alone, no hardware required. Adhesive hooks and rods rated for interior use hold surprisingly heavy curtain rods without marking paint. Tall plants, folding screens, or a bookshelf angled near a window add a physical buffer that costs nothing in security-deposit risk.
Rough cost and lifespan by method can vary widely but generally fall within affordable ranges for most renters, with static-cling film being among the least expensive and tension rods with sheers offering reusable, low-cost options.
How do you choose the right privacy solution for your apartment?
Start by walking your apartment room by room and rating each window on three things: how visible it is from outside, what direction it faces, and whether the glass is already textured or frosted at the factory. A north-facing bedroom window three floors up needs less intervention than a ground-floor living room window facing a busy sidewalk.
Here’s a simple decision order that covers most apartments:
- Check your lease first. Most leases ban drilling, permanent adhesive, or “alterations,” but static-cling film and tension rods rarely qualify as either. Read the actual clause instead of assuming.
- Email your landlord or property manager if the lease is vague, and get the answer in writing. A two-line email asking “can I install removable frosted film on my bedroom window?” takes thirty seconds and protects your deposit if there’s ever a dispute.
- Start with static-cling film on any window where you want privacy but can’t sacrifice daylight. It’s the lowest-risk, lowest-cost option to test first.
- Add a second layer (blackout shade, denser curtain, or peel-and-stick film) on any window facing the street, a courtyard with foot traffic, or a neighboring building’s windows.
- Call a professional installer if the glass is textured, oversized, or floor-to-ceiling, since DIY film on irregular glass tends to bubble or misalign at the edges.
Pro Tip: Take dated photos of your windows before and after installing any film or hardware, and save the landlord email approving it. If your deposit gets disputed at move-out, that paper trail settles the argument in minutes.
If you do bring in a professional, ask three questions before booking: what’s the warranty on the film itself, what’s their policy for removal at move-out, and can they show a sample of the exact frost level before installing the whole window. A pro who can’t answer all three clearly isn’t the right one to hire.
How do you install and remove renter-friendly window film?
Getting a clean result comes down to prep, not the film itself. Rushing the cleaning step is the single biggest reason DIY film ends up bubbled or crooked.
- Measure the glass, not the frame, and add half an inch of margin so you can trim excess after application.
- Clean the glass thoroughly with rubbing alcohol or a soapy water solution, then dry it completely. Any dust or streak becomes a trapped bubble under the film.
- Cut your template on a flat surface before touching the window, checking it against the glass twice.
- For static-cling film, mist the window generously with water, place the film, and squeegee from the center outward in overlapping strokes to push air and water toward the edges.
- For peel-and-stick film, peel back a few inches of backing at a time rather than all at once, pressing down as you go to avoid trapping air.
- Fix bubbles by lifting the nearest edge slightly and re-smoothing with the squeegee, working from the bubble outward.
A few maintenance habits keep things looking good over time:
- Re-mist and resmooth static-cling film every few months in humid rooms like bathrooms, since edges lift before the whole sheet fails.
- Remove peel-and-stick film with a warm hairdryer to soften the adhesive, then lift slowly with a plastic scraper, never metal.
- Install tension rods and adhesive brackets at a slight downward angle so weight pulls them tighter rather than loosening the grip over time.
- Test adhesive removers on a hidden corner of trim before using them on visible paint.
At night, film alone can create a silhouette effect under overhead lighting, since a bright bulb behind you throws your shape onto the glass. Switching to side-mounted lamps instead of ceiling fixtures cuts that effect noticeably, and doubling up a second layer of film adds another buffer without blocking daytime light.
Which privacy setup works best in each room?
Bathrooms need the strongest coverage since they’re used at all hours and often face other units directly. Full lower-window frosted film, or a full-frost treatment if the window faces a walkway or another building’s bathroom, is the standard fix. Expect to check the edges more often here since steam is the toughest test any film will face.
Bedrooms call for round-the-clock privacy, which rules out reflective film on its own. A layered setup of sheer curtains plus a blackout shade gives you daylight during the day and full coverage at night. Honeycomb shades work well here too, adding insulation against street noise and temperature swings in older buildings.
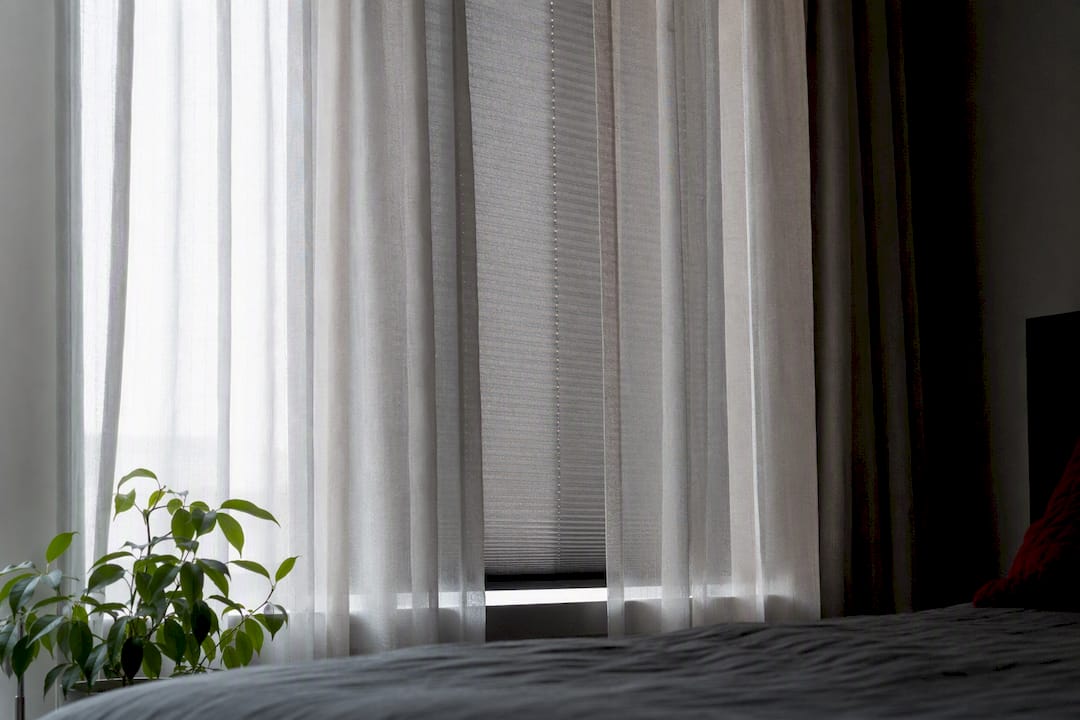
Living rooms and street-facing windows usually don’t need full coverage. A bottom-up shade or a lower half-window film keeps your view of the sky while blocking the direct sightline from the sidewalk, which matters most since room function should drive privacy intensity more than a one-size rule for the whole apartment.
Sliding glass doors and balcony windows take more wear from sun and wind, so removable film needs to be rated for exterior exposure or reinforced at the edges. Outdoor-rated mesh screens are worth considering here since they hold up to weather better than interior-grade film and still block direct sightlines from below.
When is a professional window film install worth the cost?
DIY film handles most standard apartment windows fine, but a few situations tip the math toward hiring a pro. Textured or patterned glass is hard to match with a DIY template since bubbles show more against an irregular surface. Floor-to-ceiling panes and oversized sliding doors are tough to handle solo without creasing the film mid-application. And if you actually want UV protection or thermal performance on top of privacy, that’s a different product tier than what’s sold in most DIY frosted film kits.
Twtwindowfilm has installed residential film across Orange County and Los Angeles County since 2008, working with premium film brands including 3M and LLumar rather than generic film stock. Every install comes with a lifetime warranty, which matters more than it sounds: cheap film that clouds or peels within two years costs more in redo labor than paying for a quality install once.
What a professional installation typically adds over DIY:
- A cleaner, bubble-free edge finish, especially on textured or oversized glass.
- Better long-term humidity resistance in bathrooms and kitchens.
- UV-blocking properties that reduce furniture and flooring fade, not just visual privacy.
- Security-grade film options for ground-floor units where impact resistance matters as much as privacy.
Want a pro to handle it instead?
If measuring, misting, and squeegeeing your own windows sounds like more weekend than you want to spend, Twtwindowfilm handles the entire job in one visit and backs it with a lifetime warranty most DIY kits can’t match.

A typical residential visit starts with a free onsite estimate, where an installer looks at your actual glass, discusses privacy and solar film options, and gives you a same-day quote using 3M or LLumar materials. Installation on a standard apartment window runs well under an hour per pane, and the finish is clean enough that most landlords have zero issue with it once they see it. If you’re renting, ask about the removal service upfront so move-out day doesn’t turn into a scraping project. Twtwindowfilm serves renters and homeowners throughout Orange County and Los Angeles County, and booking a free estimate through the residential services page is the fastest way to see real pricing for your specific windows.
A renter’s honest take on privacy versus light
Most people overcomplicate this. Start with static-cling film. Only upgrade to shades, layered curtains, or a professional install once you’ve actually lived with the cheap fix and found its limits, usually a bathroom that stays foggy too long or a bedroom window facing a lit courtyard.
The one habit that saves renters real money: document everything. A landlord email and a few photos cost nothing and settle every deposit argument before it starts. Everything else, humidity, night silhouettes, matching your curtains to your shades, is a solvable annoyance, not a reason to overspend upfront.
— Jake
Sources
- How to Frost Window Glass for Temporary Privacy (6 Mistakes)
- Privacy Window Film for NYC Apartments: What Works (and What to Avoid)
- Best window shades (tested) — privacy and filtering scores
- Achieving the perfect privacy and light balance with window coverings